


SwiftUI is just another option of defining your UI. It does not replace UIKit and depending on your requirements it may or may not be the better option to use for your app. Before StoryBoards, there was a discussion between the Objective-C enthusiasts who would only programmatically develop their UI and the others who did it using Interface Builder. Now this discussion may return, but differently.
Example of a declarative code in SwiftUI:
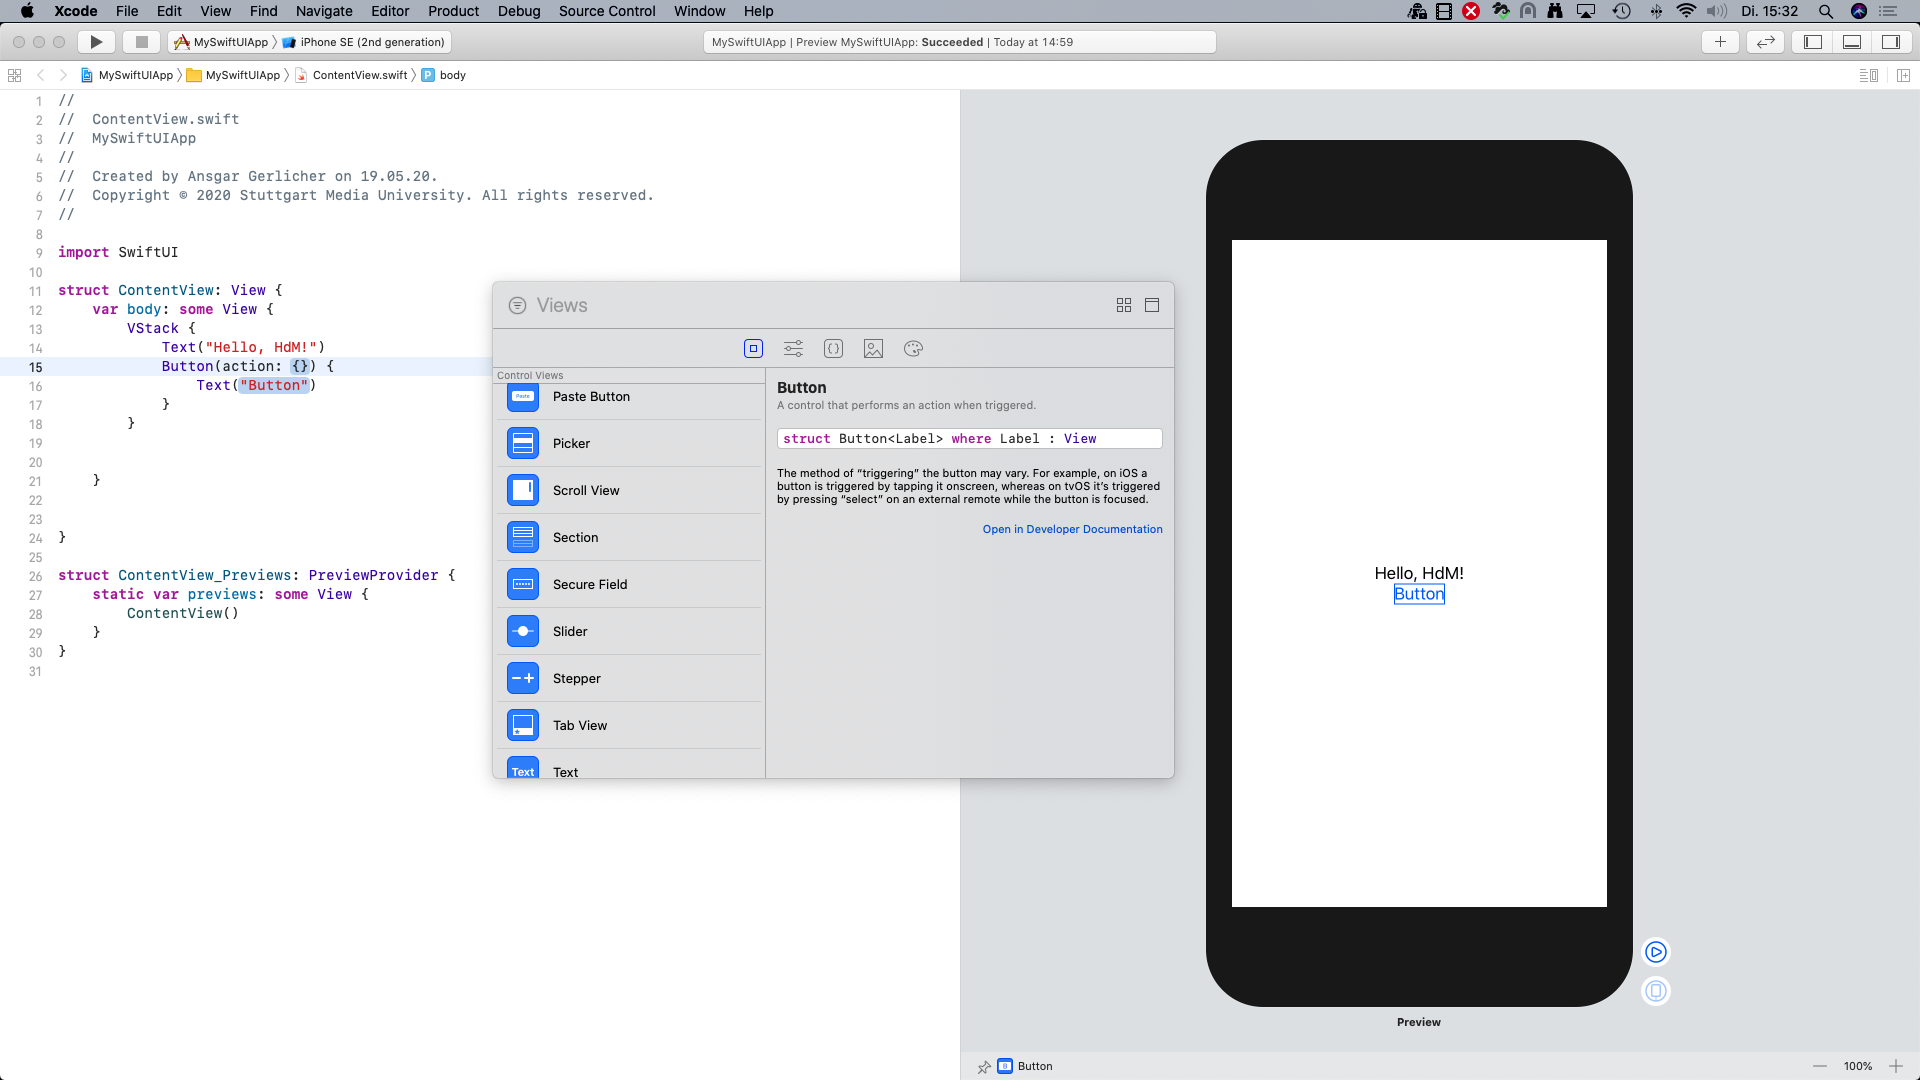
struct ContentView: View {
    var body: some View {
        Text("Hello, World!")
    }
}Example for imperative programming:
let label = UILabel()
label.text = "Hello, World!"| Declarative Programming | Imperative Programming |
|---|---|
| Describes the outcome | Specifies each step |
| Focuses on what to do | Focuses on how to do |
| Easier to read and maintain | More verbose and complex |
| More efficient and scalable | Less efficient and harder to scale |
SwiftUI Views are:
struct ContentView: View {
    var body: some View {
        Text("Hello, World!")
    }
}struct ContentView: View {
@State private var isTapped = false
var body: some View {
Button(action: {
self.isTapped.toggle()
}) {
Text(isTapped ? "Tapped" : "Not Tapped")
}
}
}struct ContentView: View {
var body: some View {
VStack { // Vertical stack component
Text("Hello, World!") // Text component
Button("Tap Me") { // Button component
print("Button was tapped")
}
}
}
}struct ContentView: View {
var body: some View {
Text("Hello, World!")
.font(.title) // Modifying the font
.foregroundColor(.blue) // Modifying the text color
}
}State management is a key concept in SwiftUI that allows to manage the state of the UI and update it based on changes in the app's state. SwiftUI provides tools for managing state, such as State, Binding, and Observable objects:
SwiftUI code reflects the hierarchy of views, making it easy to organize UI components. Compositional design helps maintain clean, modular, and reusable code by breaking down complex UIs into simple components.
For the layout of your Views you can use View components such as:
For Navigation between views you can use:
makeUIView(context:) and the updateUIView(_:context:) methods e.g. as shown here:struct MapView: UIViewRepresentable {
func makeUIView(context: Context) -> MKMapView {
MKMapView(frame: .zero)
}
func updateUIView(_ uiView: MKMapView, context: Context) {
let coordinate = CLLocationCoordinate2D(
latitude: 34.011286, longitude: -116.166868)
let span = MKCoordinateSpan(latitudeDelta: 2.0, longitudeDelta: 2.0)
let region = MKCoordinateRegion(center: coordinate, span: span)
uiView.setRegion(region, animated: true)
}
}
struct MapView_Previews: PreviewProvider {
static var previews: some View {
MapView()
}
}SwiftUI provides tools for adding animations and interactions to your app:
struct ContentView: View {
    @State private var isTapped = false

    var body: some View {
        Button(action: {
            withAnimation {
                self.isTapped.toggle()
            }
        }) {
            Text(isTapped ? "Tapped" : "Not Tapped")
        }
    }
}Exploring SwiftUI tutorials, documentation, and learning resources
Please start with the following resources:
Then continue with:


Recap of SwiftUI's key features and advantages: